Okay, so right now I’m attending a course where we get acquainted with Linux, in relation to servers to be specific. As an assignment, my job is to learn to use the Xubuntu distribution. For the next few weeks I’ll be posting tutorials concerning Xubuntu and other related stuff. Let’s get started!
Choosing a Linux distribution
So you want to start using Linux but are not sure where to start? That’s okay, the whole “cult of Linux” can be a bit overwhelming to comprehend, especially if you’re moving on from Windows, the mainstream operating system. Chances are that you got sick of Windows for some reason and are now looking for an alternative OS. Or maybe you’re just curious about the software behind so many projects, such as Android. In any case, you’ve made the right choice, and even if you won’t become a full-on guru with Linux, it’s always nice to know the basics. Besides, using Linux is a great way to learn more about computers, so if computer science is your thing you’re in for a treat!
To start using Linux, you must first choose a distribution, or a “distro“. Linux comes packaged in all shapes and forms so it’s essential that you pick the correct distribution suitable for your own purposes! Some of the most popular distros are Debian, Ubuntu, CentOS, Fedora and Linux Mint. Different distros are more suitable to different uses, but if you’re just getting started and want to learn the basics I can recommend Ubuntu (or Xubuntu, which is what I’ll be using here. The real difference is only that Xubuntu uses the more lightweight Xfce desktop environment to boost performance instead of the default Unity found in Ubuntu).
Once you’ve chosen your distro, it’s time to start the preparations.
(Optional) Backing up your data
This is a non-mandatory step, but if you’re going to install your Linux distro on a hard drive, you might want to take backups of your data, since reclaiming it can be near impossible if it gets overwritten. There are several ways to make backups of your most precious files. Using a simple USB stick or a cloud service such as Dropbox can be quick and handy if you only want to backup text or photographs (keep those private photos away from the cloud!). For larger files like videos, photo albums or even games and other programs I would recommend an external hard drive or a cloning dock.
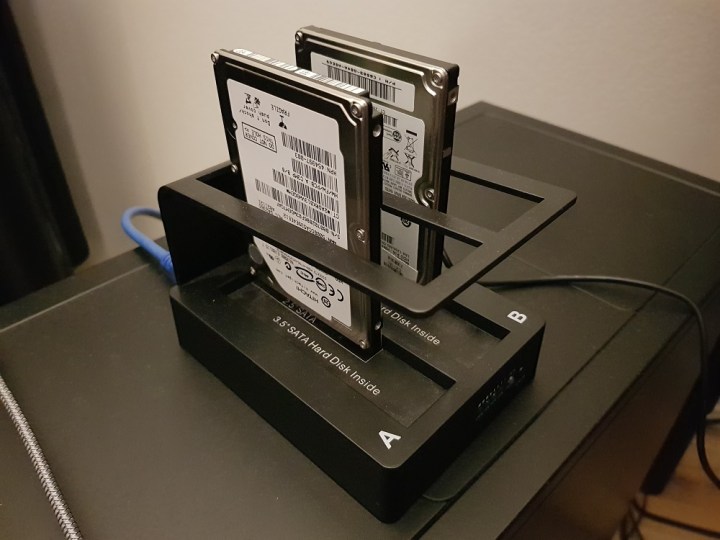
External hard drives are rather cheap these days and easy to use, just connect them via USB to your PC and you can transfer everything you want. BUT, if you have access to your hard drive and can remove it from your desktop or laptop, then I would suggest using a cloning dock such as Fuj:techs Clone Dock 2. It’s only 30€ here in Finland and you can use it turn a regular hard drive into an external one. Because of its adaptability and ease of use, I’d say that 30€ isn’t a bad price for something so useful. And as a long-term solution you will save money this way, since external hard drives tend to be a bit pricier than “regular” ones, so you won’t have to buy externals in the future.
No matter which method you think best, you should always take backups just in case, unless you’re absolutely certain that there’s nothing you might need in danger of being overwritten.
Installation methods/How to make a bootable USB livestick
Now that you’ve chosen the distro you want it’s time to choose your installation method. As with any other operating system, you can install Linux in various ways. However, I would recommend creating a USB stick with an image of your chosen distro for easy and convenient installations. A CD disc would also work but since optical drives are a slowly disappearing piece of hardware, it’s safer (and just faster) to use a memory stick.
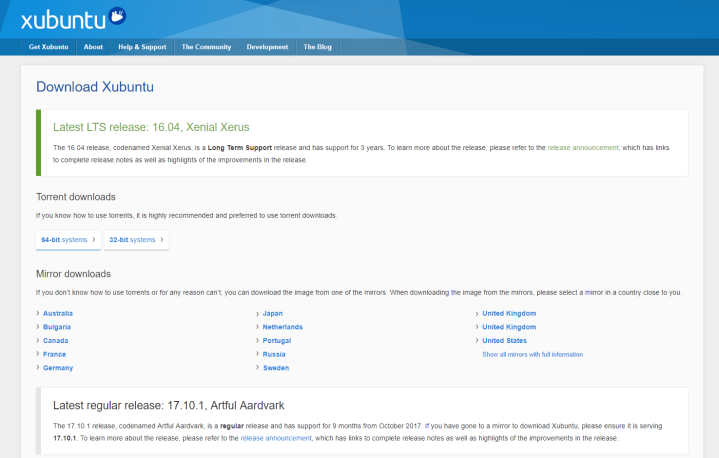
In order to create a bootable USB stick you need three things; a USB memory stick (4GB in size should suffice pretty much always), an ISO image of your chosen distro and a program to burn the image to the stick. You can use programs like UNetbootin, Rufus or Win32DiskImager, I’ll use UNetbootin in this tutorial. You should be able to download the distro ISO file from your chosen distros home site. Distros often offer different ways to download your file, for instance, via FTP or a torrent client. If peer-to-peer isn’t your kinda thing, I recommend FTP, as it is typically easier, if not the fastest way. The ISO file size is typically somewhere around one to four gigabytes, so the download might take a few minutes or an hour, depending on your network speed.
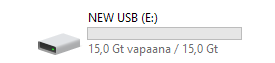
After you’ve downloaded the ISO file and have a program that can burn it as an image to a flash drive, you’re ready to start. Make sure your USB flash drive is connected and doesn’t have any important files on it, everything will be overwritten. It’s always best to use a completely empty drive just in case.
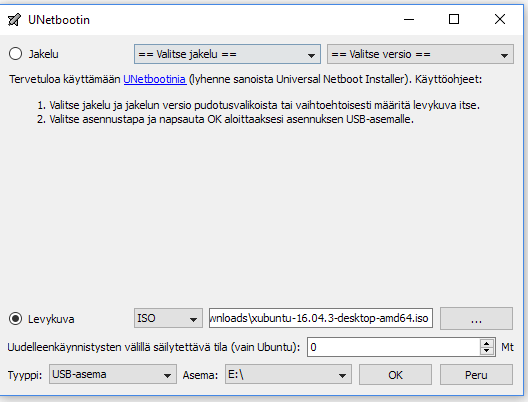
Here you can see UNetbootin ready for action. Pay attention that you’ve chosen the correct method (“Levykuva” in this picture), the correct ISO file and the correct destination, in this case a USB drive, drive E. After selecting “OK” UNetbootin should burn the image to your flash drive. This might take a while but no longer than 10 minutes. Congratulations, you now have bootable Linux drive!
Installing Linux
You should now have a completed installation method and so you are ready to start with the installation. In order for you to use the USB drive as the boot drive, you need to access your computers boot menu. You can look for your computers boot menu key here: https://www.desertcrystal.com/bootkeys. The most typical keys are ESC, F2, F9 and F12 but this varies on different computers. If you are having trouble entering your boot menu, you might want to check out your BIOS settings and make sure that the boot menu isn’t locked. BIOS can also typically be accessed with the formerly mentioned keys, most often with ESC.
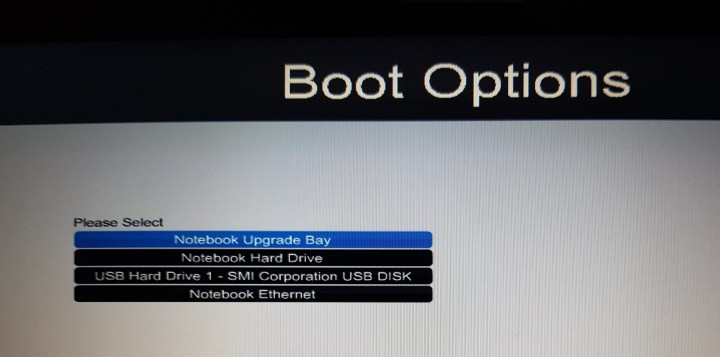
The above is an example of what you should be seeing. Here you can see that the USB flash drive is being recognized as a boot drive and is available for selection. Navigate to your USB drive with the arrow keys and select it with ENTER. This is what you should be getting if you used UNetbootin and Xubuntu:

Here you have several options on how to utilize your boot drive. You can for instance start installing the OS to a local hard drive instantly or run the OS straight from your USB drive. In order to see that everything works alright, I suggest running the OS from the USB drive first by selecting “Try Xubuntu without installing”.
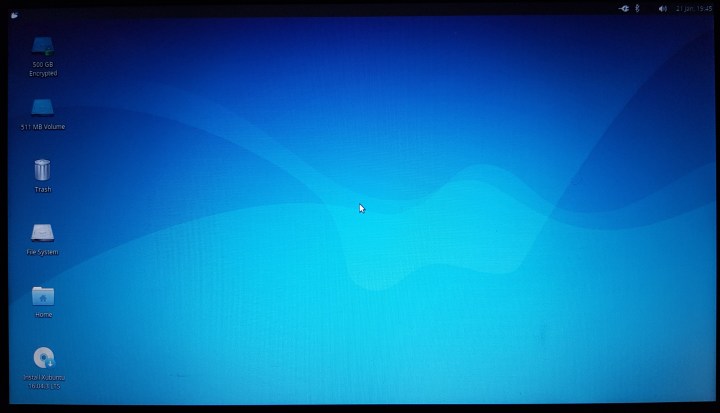
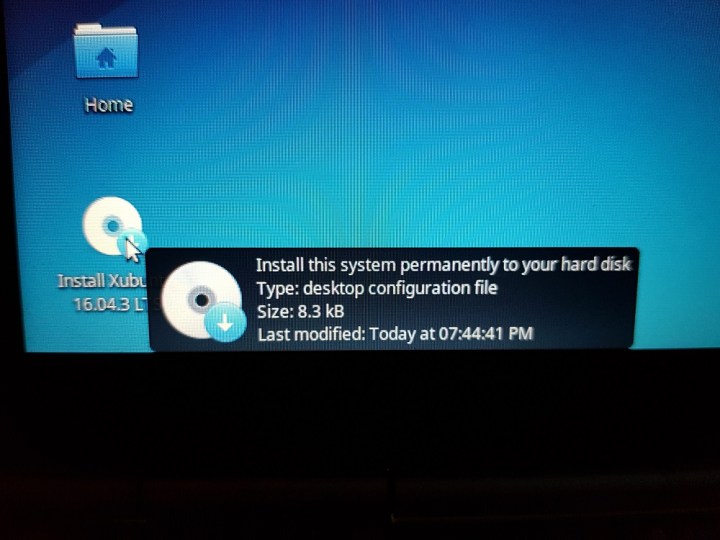
Once the OS boots up you should arrive to the desktop. Congratulations, you are now running a Linux based operating system! Here we can use the OS just as it would be if we installed it, but in order to gain access to every single function and to fully utilize our hardware we need to install the OS on a local hard drive. Before you choose the “Install” shortcut on the desktop make sure you have a hard drive on your desktop or laptop that you’re willing to overwrite! If you have multiple drives on your computer, you can choose the correct one from the installation wizard.
NOTE! If you’re using something else than a standard US keyboard, for example one with a Nordic layout, remember to change your keyboard settings. You can do this by accessing the terminal (Windows + T or click the button in the upper-left corner -> select terminal) and by typing in the command “setxkbmap #” (replace “#” with language, for instance “fi” for finnish).

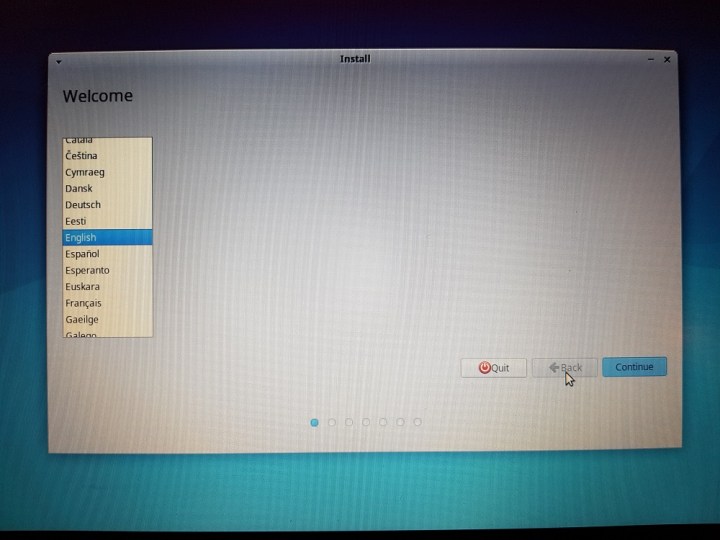
The following installation will be performed using the Xubuntu installation wizard but other distros should come with a similar one. Once you start the installation process you must first choose your OS language. Pick the one you wish and continue on.
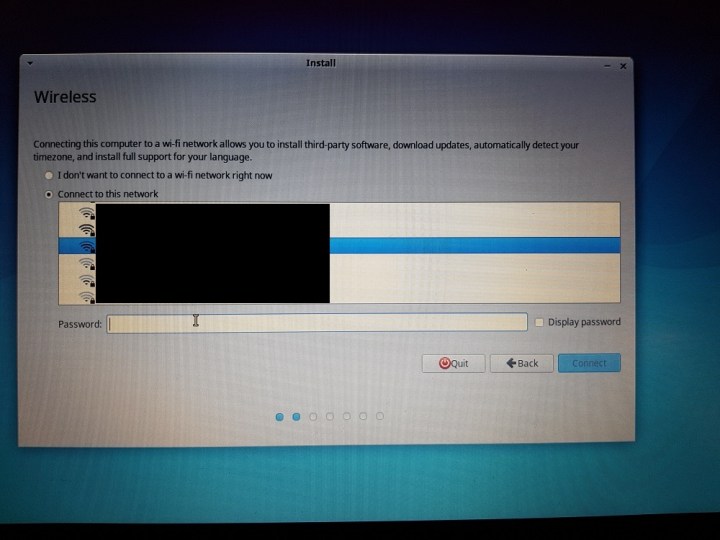
In the next step you can connect your computer to a wireless network if you have a WI-FI enabled computer. By connecting online you can speed up the installation a bit, since the installation wizard will automatically detect your timezone. You can also instantly download some updates and some useful third-party software. A wired connection will also work.
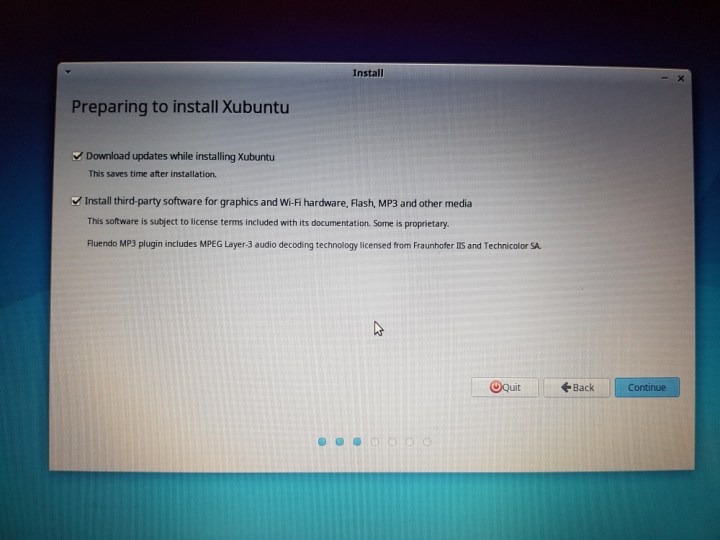
If you chose to connect online, you can now update and install some extra utilities and drivers. I recommend you do both.
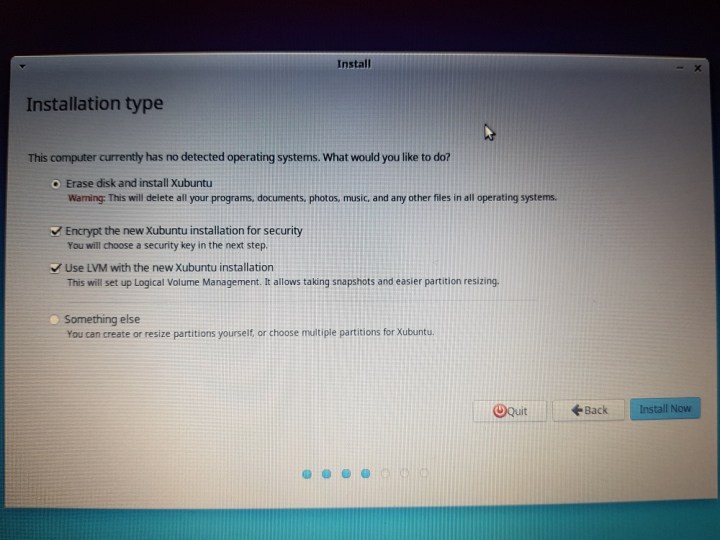
Now we come to an important step. Here you can select your installation settings, and most importantly, choose to encrypt your installation drive. Encryption is extremely important to protect your data effectively so be sure to select this option. The other settings are up to you but if you’re not sure what to do but are certain that you don’t have anything of importance on your chosen hard drive, you can choose to erase everything and keep other settings on default.
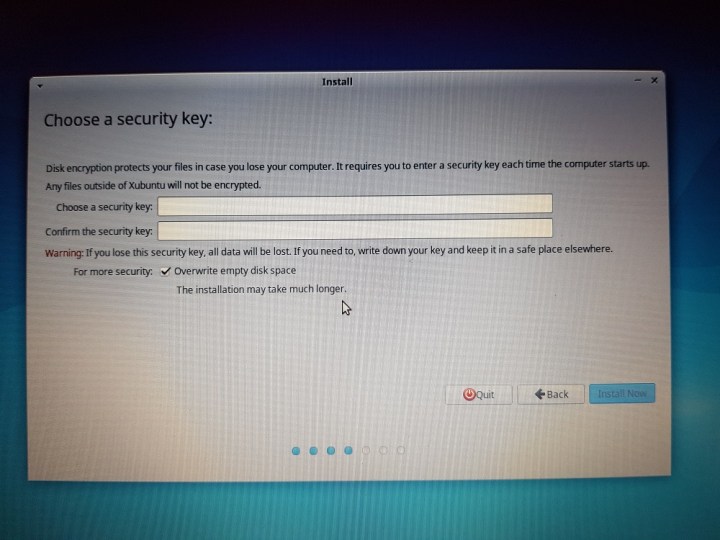
If (hopefully) you chose to encrypt your drive, you will now set a password for your encryption. Be sure to make this a long sentence with lower-case AND capital letters AND numbers AND special characters. WRITE THIS PASSWORD DOWN SOMEWHERE SAFE, IT CANNOT BE RESTORED! You can also choose to overwrite empty space, which I recommend as well.
Next you will choose your timezone and the correct keyboard layout.


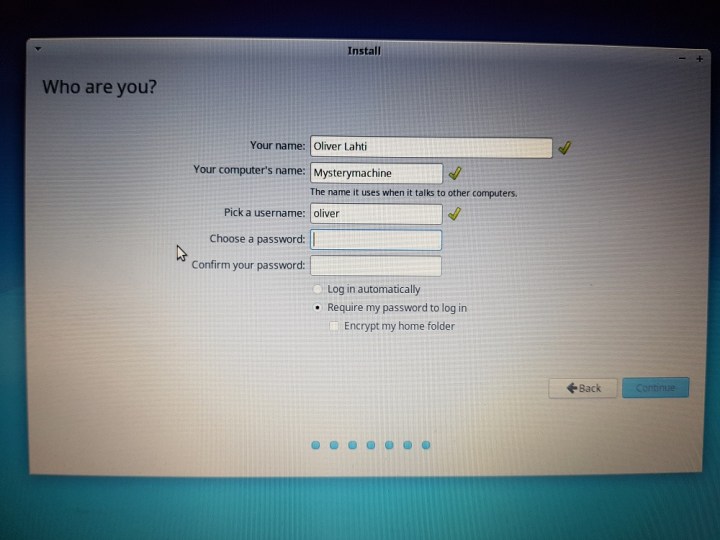
The last step will have you create a profile for your new installation. You can use your own name for example and name your computer. Always secure your profile behind a password and use a long sentence with lower-case AND capital letters AND numbers AND special characters. If you chose not to encrypt your hard drive earlier, be sure to encrypt your home folder!
Your installation will start in the next phase. This will take a moment so don’t worry if it isn’t over in a second. My installation took about five minutes with a normal 5400rpm hard drive.
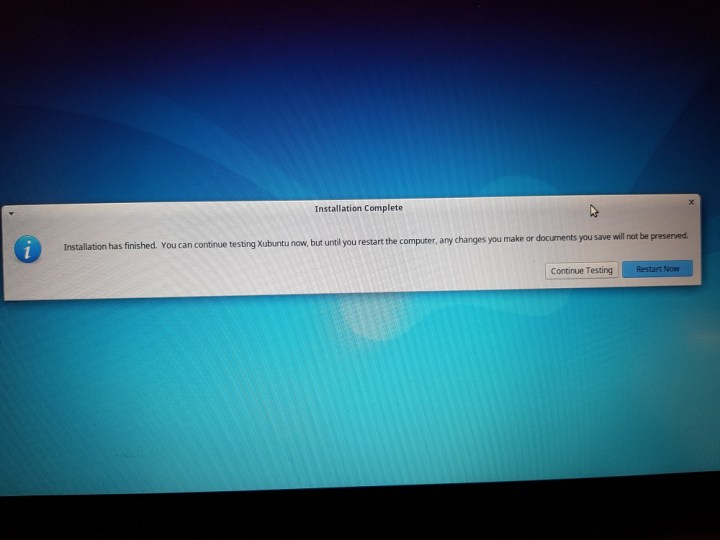
Once the installation finishes you are greeted by a completion message. Here you can choose to restart your computer and start running the OS from your hard drive. All done!
Once you’ve restarted your PC, you can finally remove your USB drive, you won’t need it anymore to run your OS.
Using Xubuntu, the first steps, basic commands
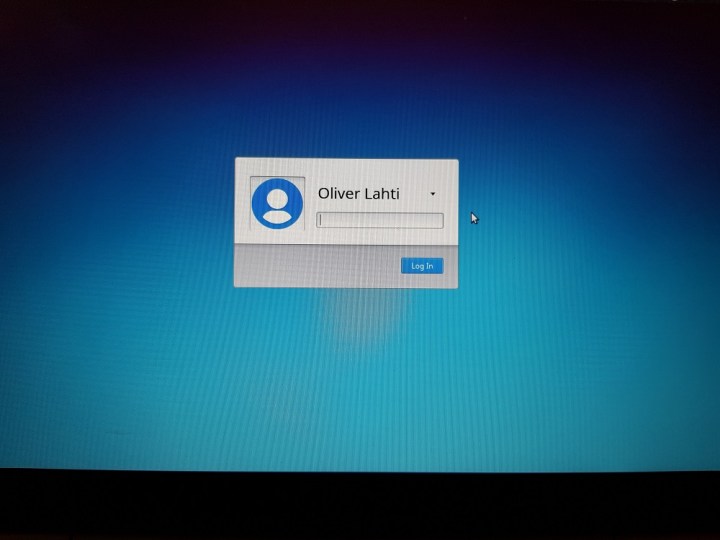
As Xubuntu starts you get to sign in for the first time. Use the password that you set up during the installation process.
You should arrive to the desktop. You can now use your new operating system in any way you wish but there are a few things I can hint for you to do. First, let’s start by checking out the hardware. Open up the terminal and type the command “sudo lshw -short -sanitize“. This lists your hardware. Notice how you need to enter your password. This happens because you’re running the command as a “superuser” with the “sudo” command. On default, once you enter your password you won’t have to enter it again for the next five minutes, even if you run another sudo command.
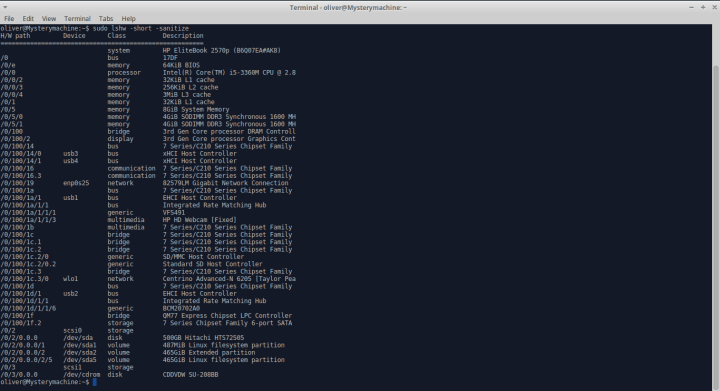
Here you can see I’m using an HP EliteBook 2570p. It has 8GB of DDR3 RAM and runs on an Intel i5-3360M at 2.8GHz. An older laptop, yes, but it runs Xubuntu beyond smooth!
Let’s move on. Installing software on Linux is much easier than on Windows for example. All you need to do is to type a short command in the terminal. Before we can start with installing we need to update our package list from where the OS knows to retrieve packages. Use the command “sudo apt-get update“. After this you’re ready to start installing away!
To install something in Linux, you can use the terminal and type “sudo apt-get install programname“. So for instance you could install the graphics editor program GIMP by typing “sudo apt-get install gimp“. You can even string program names together to simultaneously install multiple programs (for example “sudo apt-get install gimp vlc apache2“)!
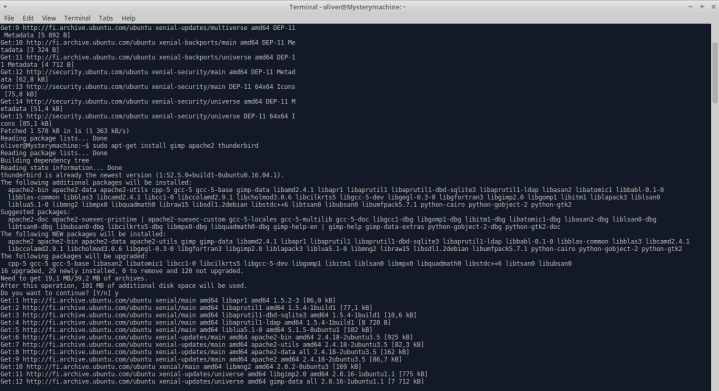
To run a program all you need to do is type the name to the terminal, “gimp” for instance. It really is this easy. Instead of downloading an installation wizard for a program and running it, you can just give simple commands via the terminal which makes everything so much simpler and faster!
Linux is all about open-source software. This means that as a platform, the OS is much less commercial than say for example Windows or OSX. This also means that larger or smaller corporations might not be willing to provide their software for Linux users since there might be less money to make among the Linux community. No worries though, even though Linux might not have the support of every IT company out there, it has a very active and vocal community, always willing to further develop the platform and software available.
I’m going to list some alternatives here for programs that you (and I) might be using daily and can’t live without. The best thing about these is that they’re all free!
Microsoft Office – Libre Office (For writing, calculations and spreadsheet, presentations etc.)
Adobe Photoshop – GIMP (Graphics editor)
Outlook – Thunderbird (Email client)
Winrar – Karchiver (File compressing)
CCleaner – BleachBit (System cleanup)
TeamViewer – AnyDesk (Remote control)
There are tons of useful programs for Linux, often even more useful than the ones they are based on. And I’m not saying that all Linux programs are just compatible clones, I’m just pointing out that there are capable alternatives available to those old favorites, even if the original software wouldn’t be available.
Additional – On software licenses
As I mentioned before, Linux is all about open-source. The combining factor among different Linux distros is the open-source Linux kernel on which all distros are based on. Many distros also share the same pre-packaged open-source programs that often use GNU GPL, General Public License. GNU GPL is a widely used free software license that allows the user of the software to run, study, share and modify the software. In short, GNU GPL is a copyleft license that obligates you to pass on the license unviolated with the source code. This is done to make sure that the community benefits from the use of its resources.
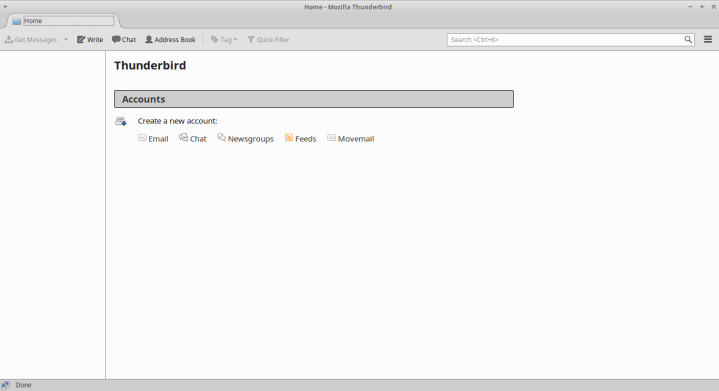
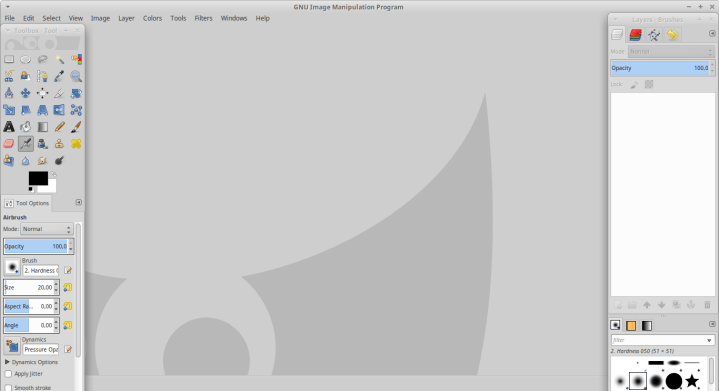
I started using Xubuntu by installing programs like GIMP and VLC that both use the GNU GPL. These programs are great examples of what community-based development can accomplish! I also installed Thunderbird, the email client software developed by Mozilla. Thunderbird uses three different licenses, GPL, LGPL (helps with combining licenses in relation to GPL) and MPL, Mozilla Public License. MPL resembles GPL by obligating keeping of the original license when redistributing software. To quote mozilla.org: “The MPL fills a useful space in the spectrum of free and open source software licenses, sitting between the Apache license, which does not require modifications to be shared, and the GNU family of licenses, which requires modifications to be shared under a much broader set of circumstances than the MPL.”
I hope this short tutorial helped you with your new Linux OS and most of all I hope you will find the time and passion to study the OS on your own!
Sources:
http://terokarvinen.com/ (my professors site)
https://lahdemi.wordpress.com/ (for alternative program recommendations)
https://en.wikipedia.org/wiki/Linux_distribution#Package_management
http://wiki.linuxquestions.org/wiki/Linux_software_equivalent_to_Windows_software
https://en.wikipedia.org/wiki/GNU_General_Public_License
https://en.wikipedia.org/wiki/Linux_kernel
https://www.videolan.org/legal.html
https://www.gimp.org/about/COPYING
https://www.mozilla.org/en-US/about/legal/eula/thunderbird-2/
