Here I’m taking a further look at how using state files with SaltStack works. I mainly configure different daemons by applying states.
In this task I used two laptops, my HP EliteBook 2570p and an older HP Pavilion DV6 with a Linux live USB stick, both running Xubuntu 16.04.3. I’m using both machines in my local network.
This post is part of a server management course I’m attending, taught by Tero Karvinen.
Setting up the Salt master and minion
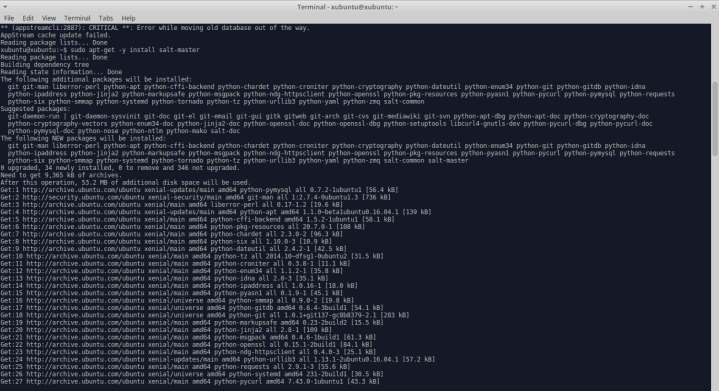
Here I needed to use Salt to install Apache on a minion and enable the user directories for Apache to use. I started by installing the Salt master and minion on my laptops. I installed the master on my EliteBook with sudo apt-get install salt-master:
After this I created the folder I knew I would need for my state files with sudo mkdir /srv/salt:

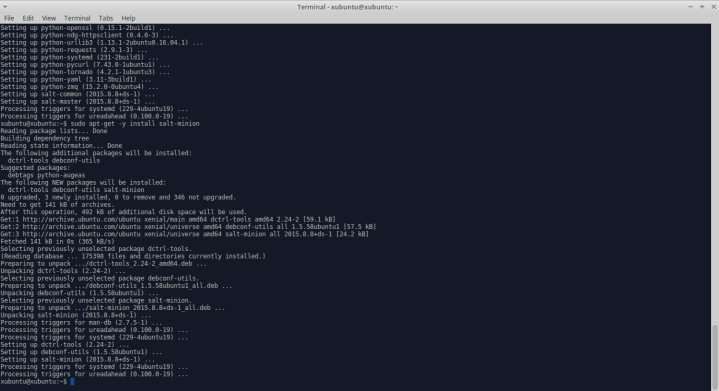
Then I used sudo apt-get install salt-minion on my Pavilion DV6 to install the minion:
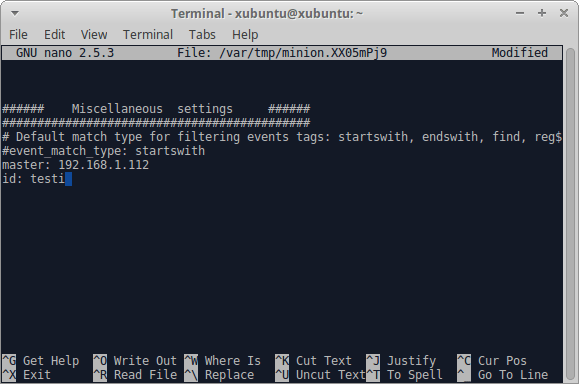
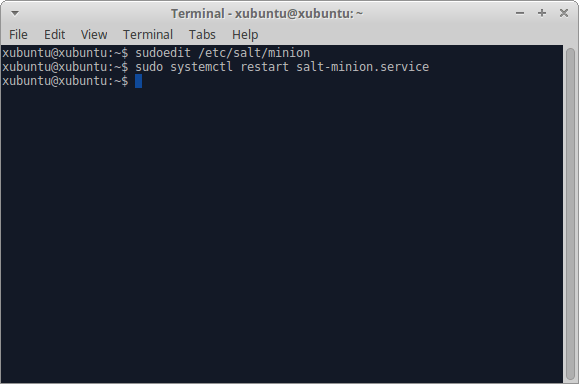
I connected the minion to the master by editing the minion file with sudoedit /etc/salt and added the master’s IP address and an ID for the minion:
I also restarted the minion after the editing:
I switched back to the master and added the required salt key in order to accept the minion:

Finally, I tested their connection with the command sudo salt ‘*’ cmd.run “whoami”
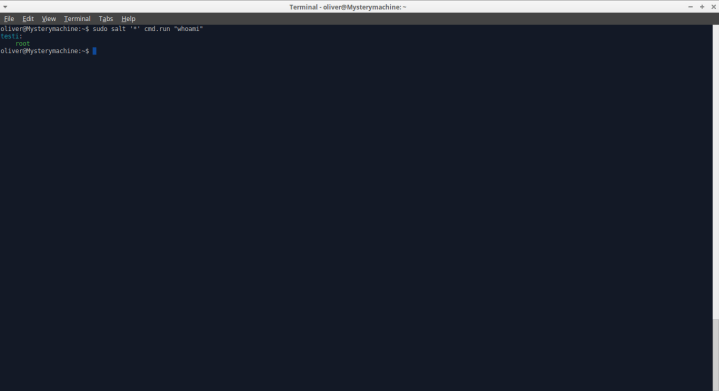
Everything worked out fine, so I knew I could start using states!
Installing and enabling user directories for Apache
So, the goal was to install Apache with a state file and afterwards automatically enable the user directories. In order to do this, I knew I first needed to test Apache on the minion, so I installed it and enabled the user directories manually. If you’ve forgotten how to do this, here’s a quote from one of my earlier posts:
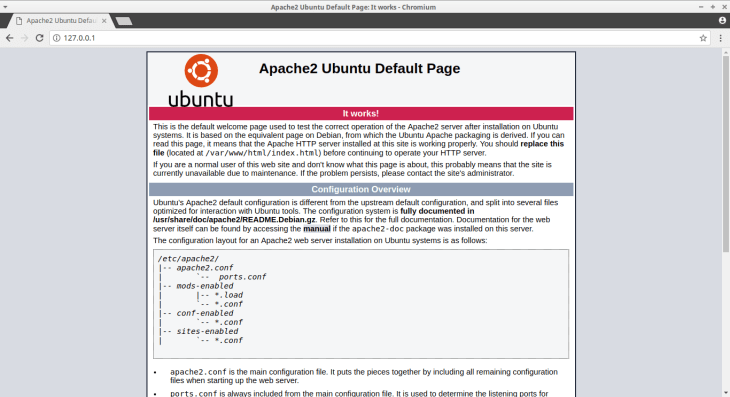
In order to get started with Apache we need to install it. If you’re not sure if you already have Apache installed and running, you can type “localhost” or 127.0.0.1 to your browser. If you’re not directed to the Apache default page, you know you don’t have Apache running.
To install Apache, open up the terminal emulator and type in the command “sudo apt-get update” and afterwards “sudo apt-get install apache2“. When prompted for a permission to use storage space type yes or just y.
After the installation is complete, you can try typing the formerly mentioned addresses to your browser (“localhost” or 127.0.0.1). You should now see the default page!
Next we’ll open up the user directories for Apache so it can scan your home folder and display pages from it. To do this, type “sudo a2enmod userdir” to your terminal. After this we need to restart Apache by typing “sudo systemctl restart apache2.service“.
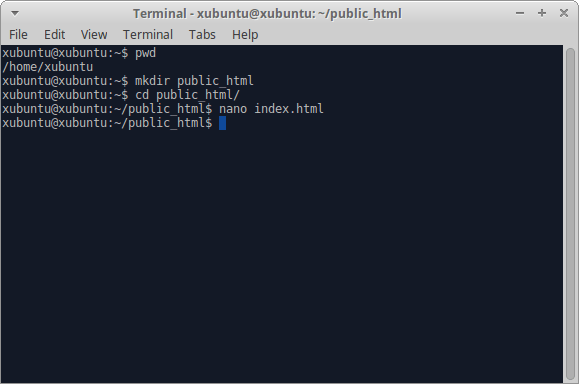
Now that Apache can access your home folder we should make a web page. You should start by making a new folder inside your home folder. You can do this via the terminal with the command “mkdir public_html” (make directory). If you are not sure how to navigate to the home folder in the terminal, be sure to check my previous post. You can create the folder with the GUI.
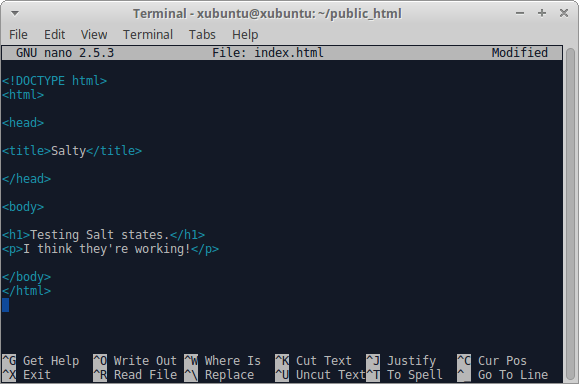
After accessing your new folder, create a new HTML file. You can do this with the terminal by typing in “nano index.html“. This will allow you to create a HTML file that will be placed into your working directory. Here’s the basic code for a HTML site:
<!DOCTYPE html>
<html><head>
<title>Place the title here!</title>
</head>
<body>
<p>Add text here!</p>
</body>
</html>
After you’ve written your page you can close the editor and save by pressing ctrl + x. You should now have a working webpage in your public_html folder that the Apache software can access. To test it out, you can try typing “localhost/~username” into your web browser. You should be seeing your new site:

After the manual installation and comprehensive testing of the user directory function, I removed Apache and all components with sudo apt-get purge apache2 apache2-bin apache2-data apache2-utils since I knew I would need to reinstall them with the state file. Now that the minion was clean and I knew that Apache should run without problems, it was time to create the state!

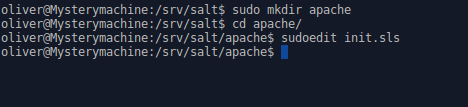
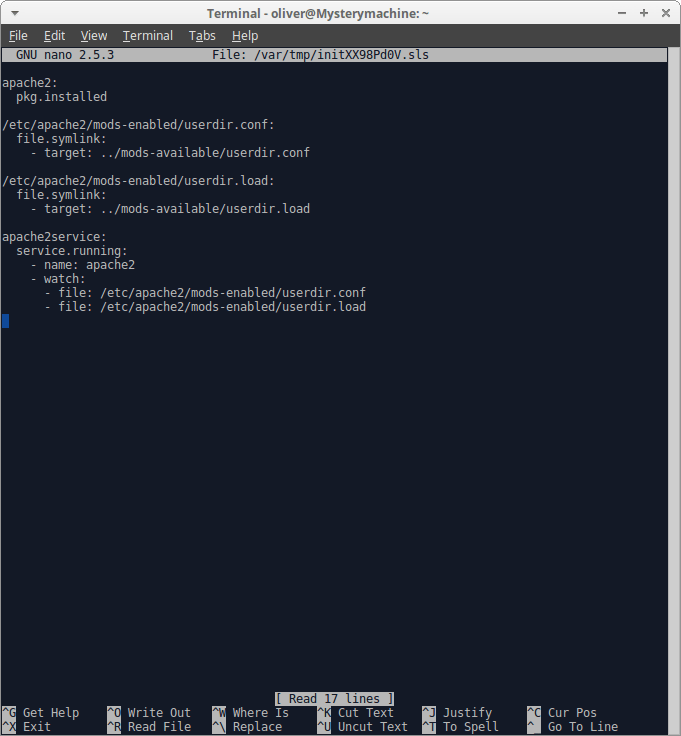
On the master, I created the folder apache inside the new salt folder that would hold all the state files. Inside the apache folder I used sudoedit init.sls to create a state file:
Here I needed a reminder on using states for configurations, so I used Tero Karvinen’s guide to configure Apache with states:
Now that I had my state ready I applied it with the command sudo salt ‘testi’ state.apply apache:
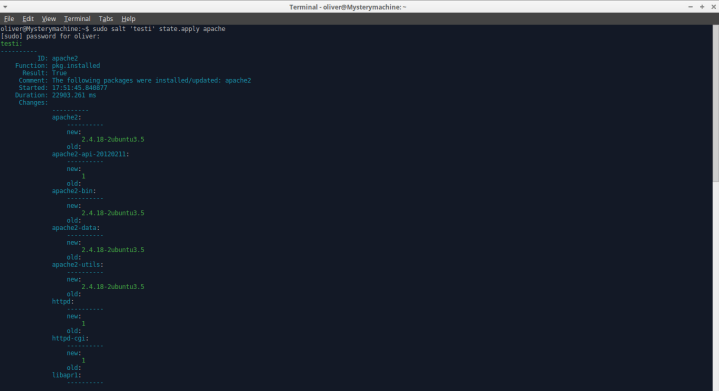

The state.apply command seemed to have worked great so I switched back to the minion and took a look at the address localhost/~xubuntu:

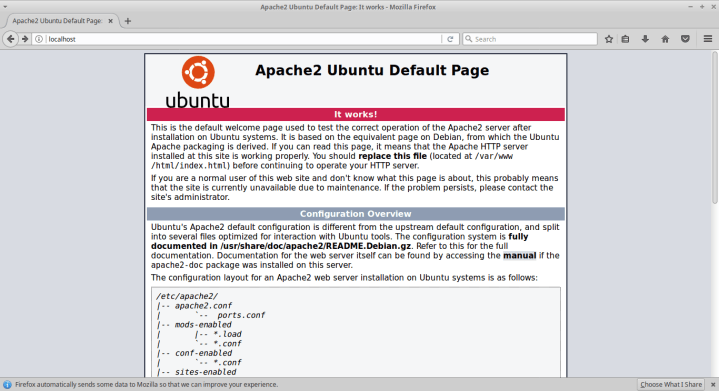
The site I had created when testing Apache manually showed up as it was meant to, and I concluded that the task had been completed!
Enabling PHP on Apache
Now that Apache was all set up, my next task was to enable the usage of PHP. I had done this earlier manually in a previous post, so here’s a quick reminder:
In order to get PHP to work with Apache we need to install a module for Apache. You can use the following command “sudo apt-get install php libapache2-mod-php“. Be sure to restart the server afterwards with “sudo systemctl restart apache2.service”. Now that we’ve installed the module, we still need to enable PHP usage, since it’s disabled by default. To edit the correct configuration file, type the command “sudoedit /etc/apache2/mods-available/php7.0.conf“. You need to add the “#” symbol in front of ALL the bottom lines to make them into comments. This way you can run PHP in user directories a.k.a the home folder. Remember to save the changes to the file with ctrl+x. Finally, restart Apache again with “sudo systemctl restart apache2.service”.
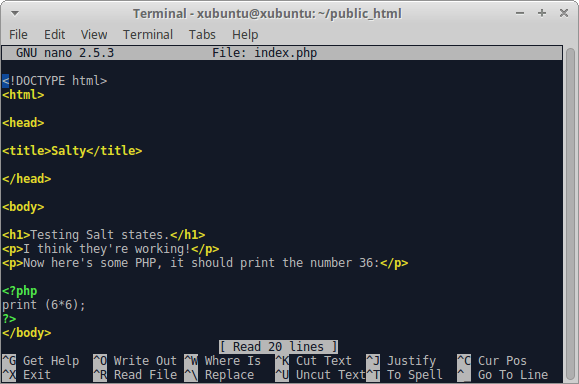
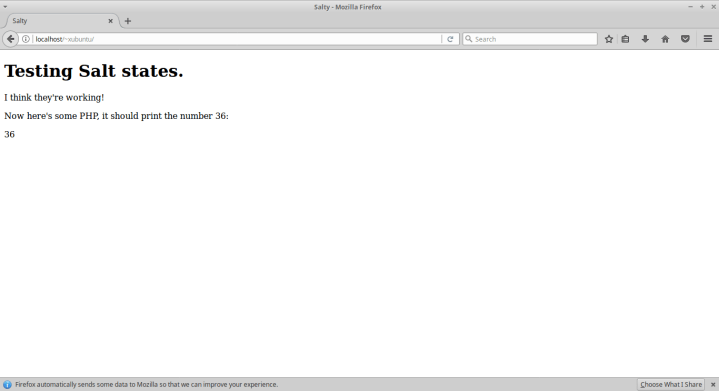
I changed the original index.html file into index.php and edited it slightly by adding some PHP to the end:

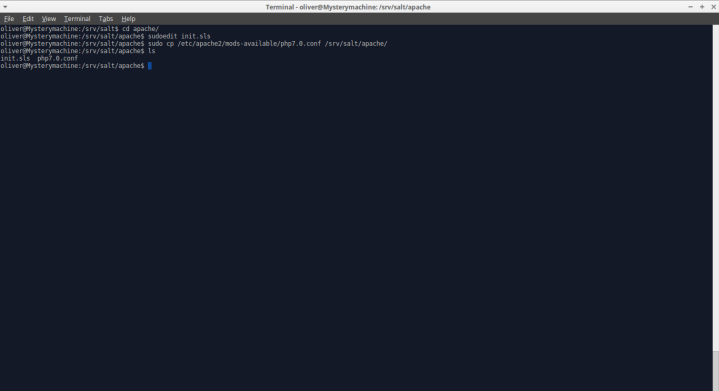
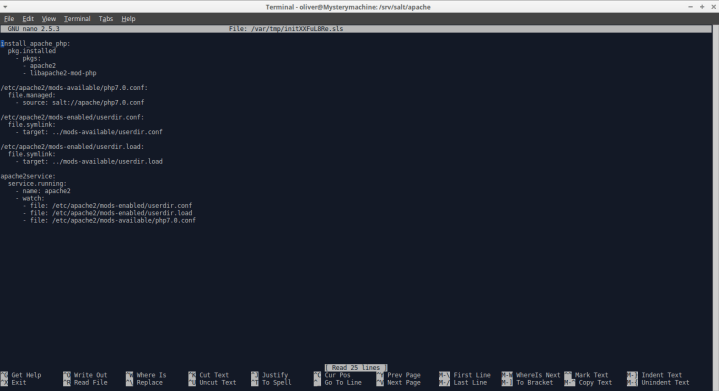
Here I needed some extra help so I took a look at Jami Jernvall’s excellent guide on how to enable PHP with states. I edited the init.sls file in the apache folder on the master by adding the Apache PHP mod into the installations:

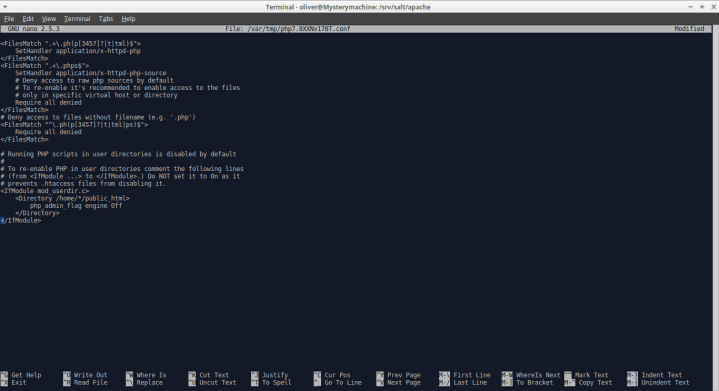
I accessed the Apache PHP config file on the master and commented the last lines in the file by adding the “#” symbol in front of them:
Afterwards I copied the file into the apache sub folder in salt:
I now also added the PHP conf file to the state file:
After saving the changes and applying the updated state with sudo salt ‘testi’ state.apply apache I got positive results:

Apache now had it’s PHP module installed, the conf file was corrected and the service was restarted. After trying out the index.php file created earlier, I noticed it worked perfectly!
A virtual domain – Configuring the hosts file
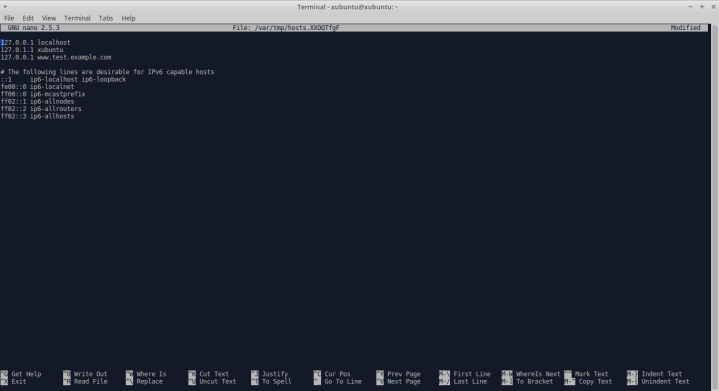
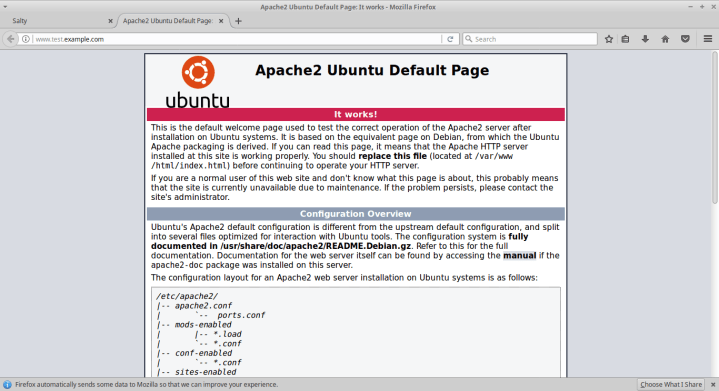
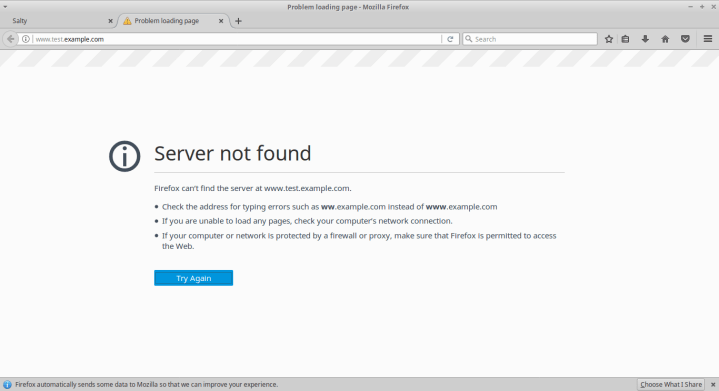
My next objective was to apply a state so, that it would allow name based virtual hosting. Since I lacked other resources, I used the hosts file to simulate the domain service. I started by manually altering the hosts file on the minion to include the domain I wanted (http://www.test.example.com) and to redirect it to the same address as localhost. This worked just fine:
The state file I needed to create was simple:

I edited the hosts file on the master to the same form as I did with the minion earlier, by adding the one line including the domain and IP address. After this I copied the file to the salt folder:

Applying worked fine:
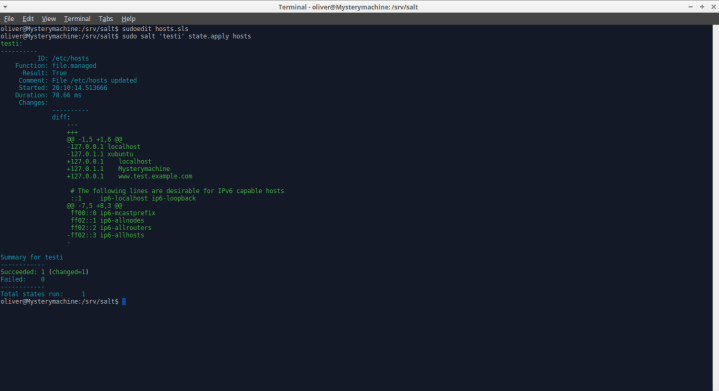
Afterwards everything worked as well as with the manual altering of the hosts file!
Adding a default home page for users
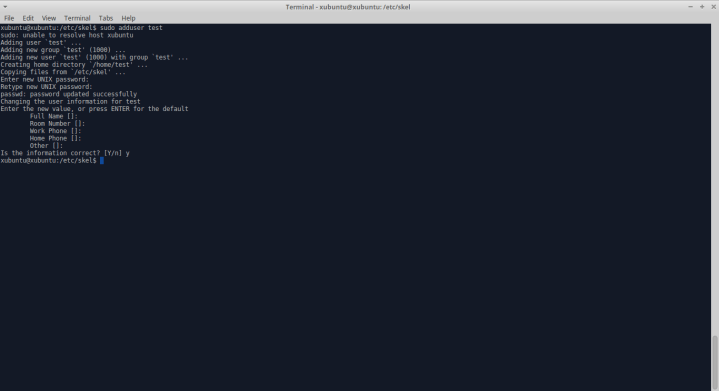
The next job was to make every user automatically have a home page from the start. I decided to use the skel folder for this, since everything in it is automatically copied to the home folders of new users. I manually transferred my earlier public_html folder with the index.php file in it to skel and created a new user called test. Everything was copied to the new user’s home folder and in the address localhost/~test I found a working PHP site:

Next I removed everything from the minion’s skel folder and switched to the master. For automation, I again peeked at Jami’s instructions. I created a skel.sls file and wrote the following:

After this I added a public_html folder to salt as well and a short and simple index.html file inside it:

I applied the state and it worked just as intended:

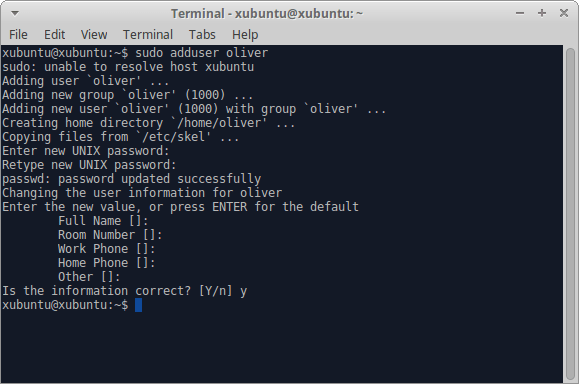
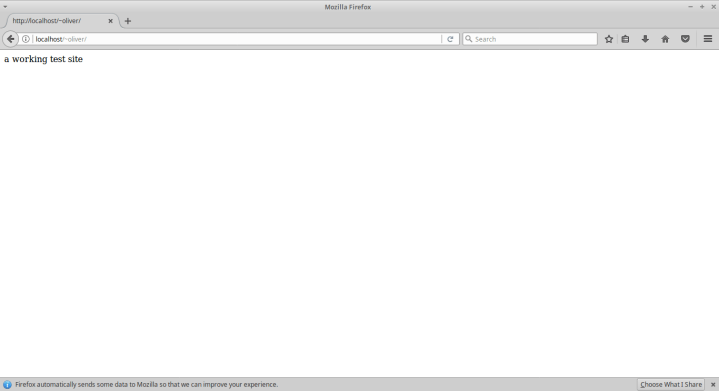
I tried to create a new user called oliver on the minion and accessed the address localhost/~oliver. This brought the simple site which I just wrote, which meant that the state worked perfectly!
Something different
In this task my objective was to use the new skills to configure something different with Salt. Prior to this task I had learned about a program called SSHGUARD from Miko Lähdesmäki and had wanted to try it out. Since Miko had just written instructions on how to install and configure SSHGUARD with Salt states, I decided to follow his instructions. I started by manually installing and testing SSHGUARD on the minion:

I accessed the whitelist file that comes with SSHGUARD:
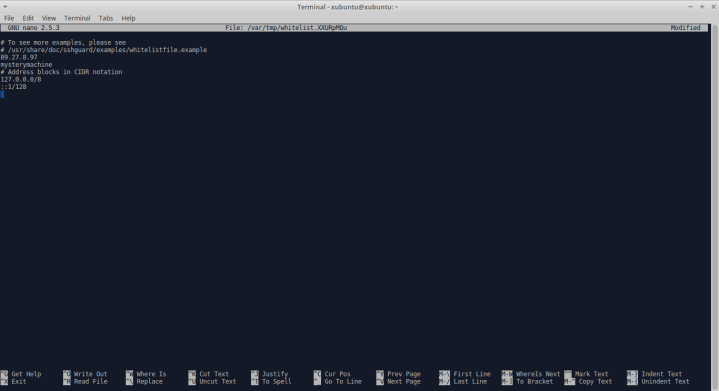
I added my own IP address and hostname to the list.
After this I purged the program from the minion and moved on to the master to write the state file. I installed SSHGUARD and altered the whitelist file as I did on the minion. Then I created the folder sshguard in salt and added the whitelist to the same folder.
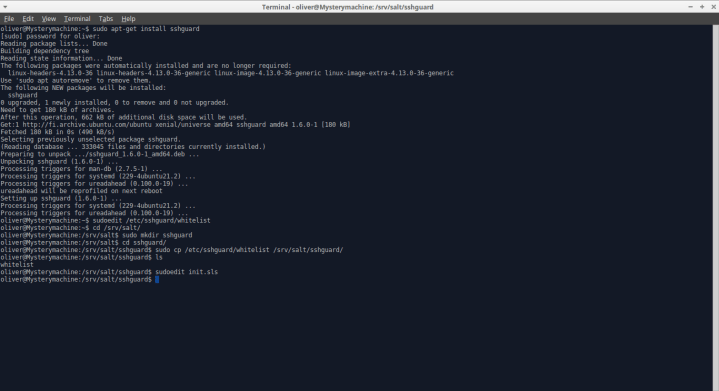
I created the init.sls file and added the following:

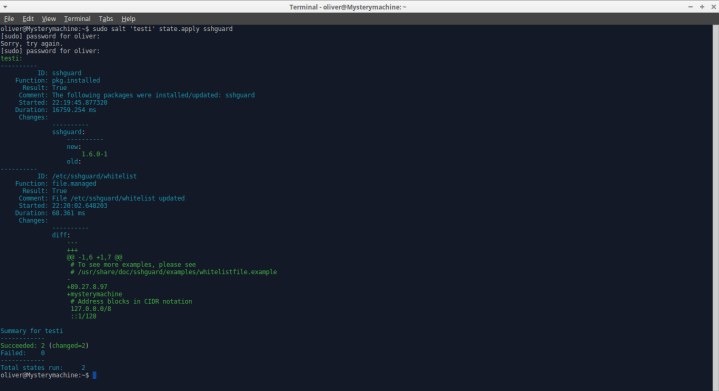
I applied the state and found the whitelist in the correct format on the minion. The state worked as expected! I created this state in order to use it on my real virtual server in the future, so I couldn’t exactly verify SSHGUARD’s effectiveness on my local network:

Sources:
http://terokarvinen.com/2018/aikataulu-%E2%80%93-palvelinten-hallinta-ict4tn022-4-ti-5-ke-5-loppukevat-2018-5p – The course I’m attending
http://terokarvinen.com/2018/apache-user-homepages-automatically-salt-package-file-service-example – Initial Apache task configurations
http://jernvall.com/2018/04/05/viikko-2-palvelinten-hallinta/ – Jami Jernvall’s extremely helpful guide
https://lahdemi.wordpress.com/2018/04/08/2-viikkotehtava-palvelinten-hallinta/ – Miko Lähdemäki’s instructions on SSHGUARD
https://www.sshguard.net/ – Some extra info on SSHGUARD
